Features
Part of Sorting American roadside attractions into four types worth knowing
Roadside Attractions Field Photography Tips
Roadside attractions field photography tips on light, lens choice, framing, a six-frame shot list, and checking site rules before you shoot.
What to take away
- Big roadside objects need distance, not a wide lens pressed against them.
- Low sun early and late does most of the work. Midday is the enemy of painted metal.
- Permission depends on the site and activity; check before using a crew, tripod or paid shoot.
- Shoot the context frame before the hero frame. You will want it later and cannot go back.
Roadside subjects are unusual to photograph because they are usually too big, too close to a road, and lit by whatever the day gives you. There is no golden hour scheduling when the object sits at mile 214 and you arrive at noon. These roadside attractions field photography tips are built for that reality.
The light window, and what to do when you miss it
Federal photography advice is blunt about timing. The Fish and Wildlife Service quotes a refuge visitor services manager: soon after sunrise and just before sunset, light runs warmer and midday sun creates harsh shadows.
Light windows vs midday
Golden hour
- Light
- warm
- Shadows
- soft
- Best for
- painted surfaces
- Fallback
- overcast sky
Midday
- Light
- harsh
- Shadows
- hard
- Best for
- texture
- Fallback
- shoot shaded side
Two other habits are worth copying: shoot at the subject's eye level, and clear poles and clutter from the background before you press anything.
When you cannot control arrival time, control the angle. Put the sun behind your shoulder for painted surfaces, shoot the shaded side for texture, and use an overcast sky as a large soft light rather than complaining about it.
Lenses, and the mistake almost everyone makes
The instinct at a forty-foot statue is to back up two steps and go wide. That produces a distorted object and a parking lot. Better order of operations:
- Start at a safe distance and frame the whole subject with a normal view, leaving room for its setting.
- If the subject looks distorted, move farther back before reaching for a wide lens.
- Use a wide view when you need more of the scene, keeping the camera level and checking the frame edges.
- Use a telephoto from farther away for a tighter frame or details without standing close to the object.
Lens order at a statue
- Walk back until object fits normal lens
- Shoot full object with normal lens
- Use short telephoto to compress background
- Save wide lens for road context frame
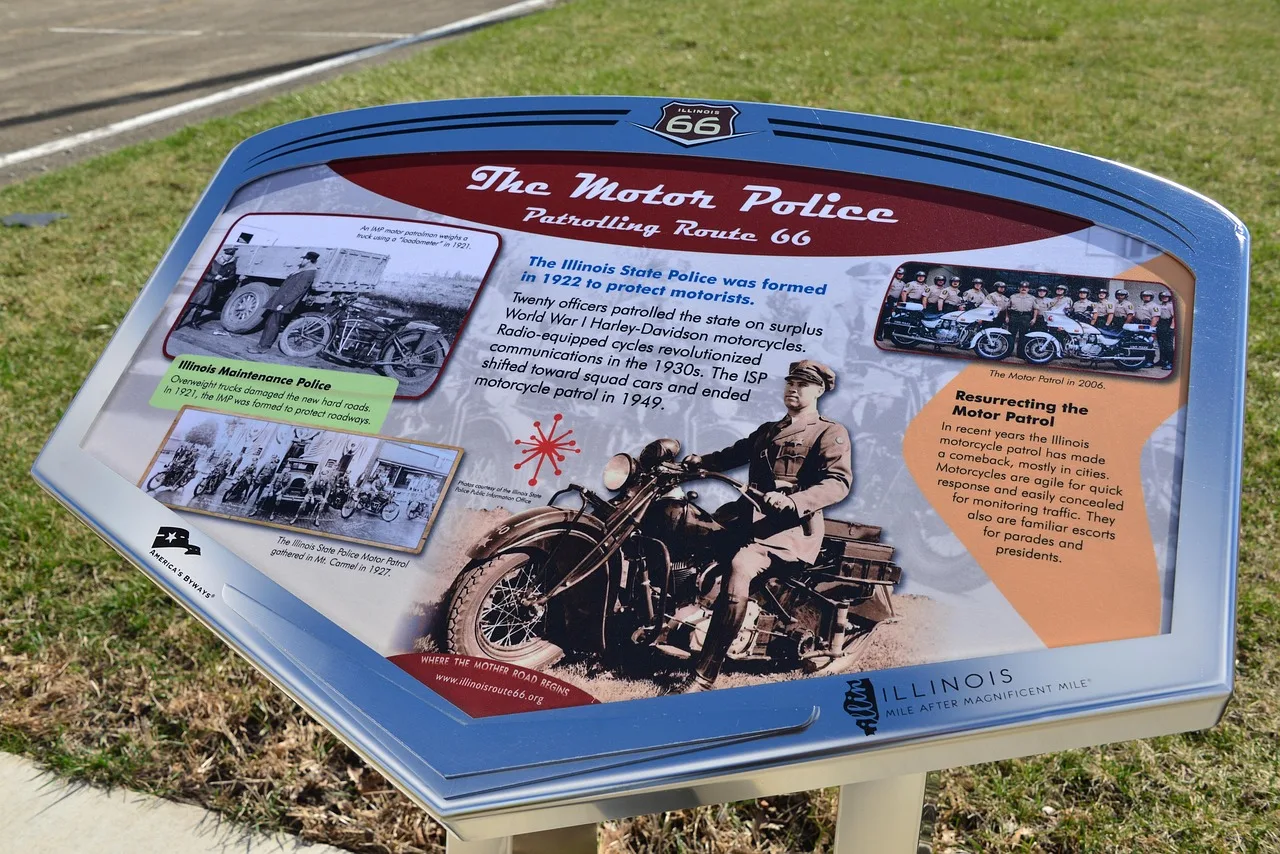
- Take documentary shot of interpretive sign
The federal refuge rule and site-specific permission
Rules differ by site and activity; the federal refuge provision below should not be treated as a rule for every roadside attraction.
The Fish and Wildlife Service says the EXPLORE Act, enacted in January 2025, means most filming and still photography at national wildlife refuges and national fish hatcheries needs no permit or fee for groups of eight or fewer.
That covers hand-held equipment in places open to the public.
Larger crews, restricted areas and other conditions can change that. Other agencies set their own terms, so ask the managing office rather than assuming one rule covers every site.
The shot list that survives editing
Six frames per stop, in this order, and you will have something usable from almost anywhere.
The shot list
- Establishing frame with road and sky.
- Full object, clean background.
- Half object with a person for scale.
- One detaillettering, rivets, peeling paint, a repair.
- The plaque or sign, readable.
- One frame from the direction a driver approaches.
The context frames are the ones people skip and later regret. A perfect isolated portrait of an object tells the reader nothing about where it stands.
Field kit that earns its space
Keep it small enough to carry from a shoulder pull-off in under a minute. A microfiber cloth for glare and dust. A polarizer for painted metal and glass. A spare battery, because cold mornings eat them. Everything else is optional.
Using the field kit on a trip
Use the sorting method in our guide to roadside attractions across the country to choose a stop, then apply the light window and shot list above. Check that there is a safe place to park before building a morning around a photograph.