Features
Part of Scenic route case studies: the results and the conditions behind them
Timestamps and reference frames: documenting scenic route case studies properly
How to photograph a scenic route so the pictures work as evidence: reference frames, surface and signage shots, timestamps and consistent naming.
What to take away
- Documentary frames and pretty frames are different jobs. Shoot both, deliberately.
- Photograph the road surface at intervals. It is the field everyone wishes they had later.
- Keep timestamps and location data on. They turn a folder into a timeline.
- A consistent naming scheme is worth more than any piece of equipment.
A scenic route case study needs pictures that prove things: what the surface was, what the signage said, how far apart the services were. Those frames are dull and nobody takes them without a list. Here is the list.
The documentary set, once per segment
The documentary set
- The road surface, taken from waist height, with something for scale.
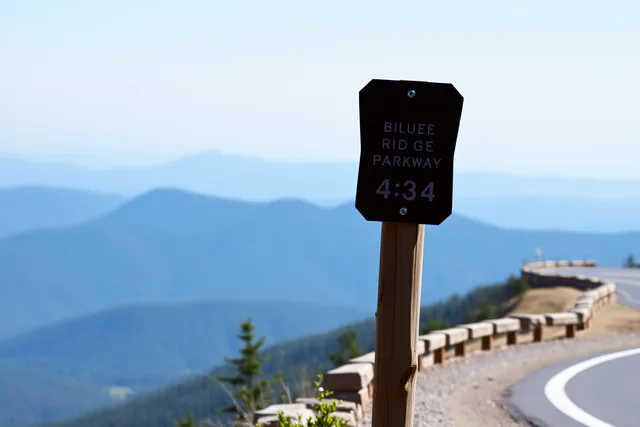
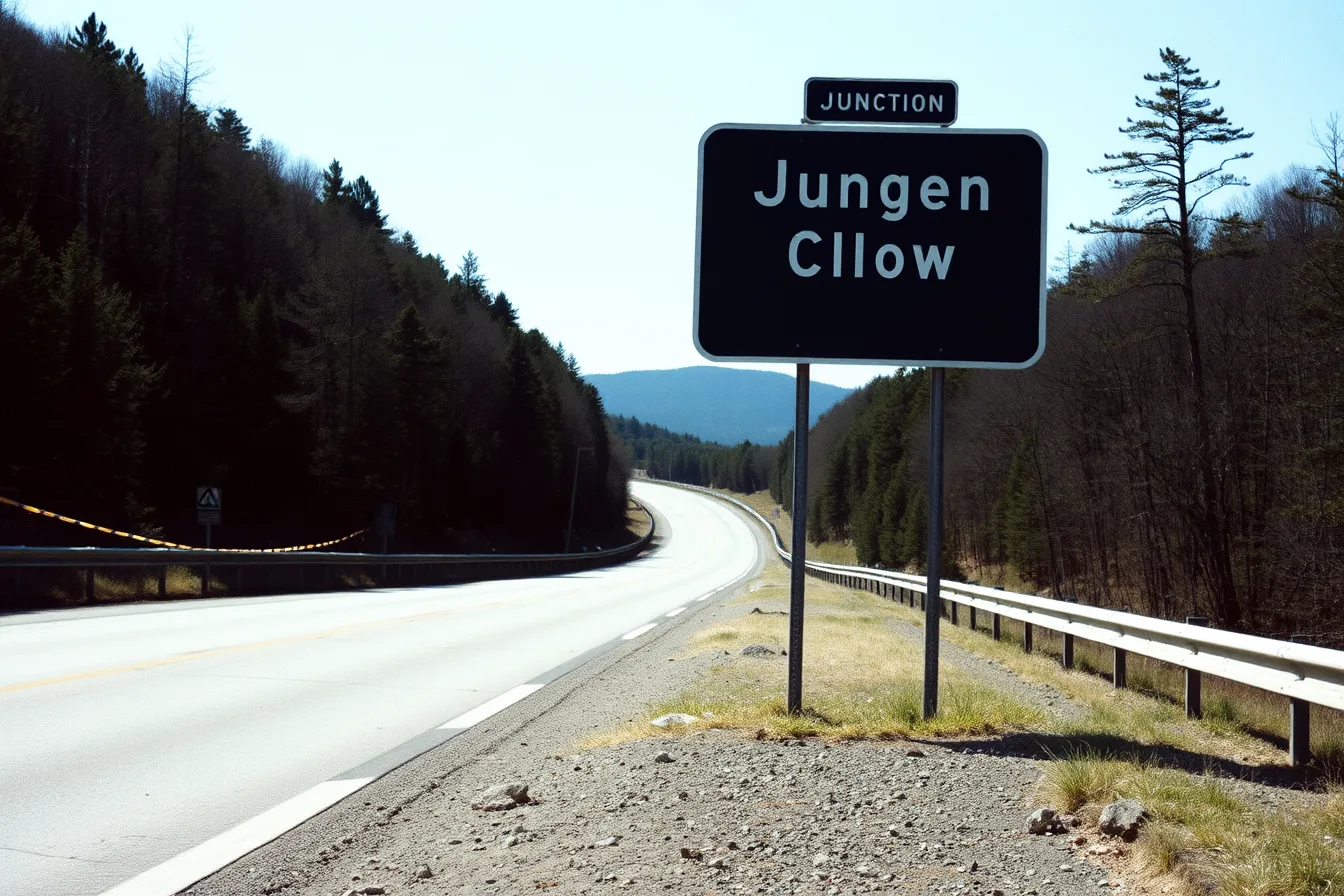
- Any junction sign, readable.
- Any regulatory or closure sign, in full.
- The view forward, from the same relative position each time.
- The odometer or a GPS reading, so the frame has a location.
Take these at fixed intervals, perhaps every ten miles, rather than when something looks interesting. Consistency is what makes them comparable across trips, and it is also what stops the set from being a record of the good bits only. A route that got worse for eight miles and then improved is a useful thing to have documented.
Keep the metadata
Leave timestamps and location services on for the trip, and check the camera clock before departure. A folder of undated frames is a memory; a folder with times and coordinates is a timeline you can lay against your driving log. If you shoot on two devices, sync their clocks, because half an hour of drift makes the sequence useless.
The frames that carry the story
Documentary frames prove the route. Other frames show why anyone would drive it; take those properly.
BLM's tribute to a staff photographer of more than 33 years covers red rock canyons in Utah, Alaskan tundra and rainforest in Northern California and Oregon.
His images over three decades filled brochures, kiosks and public information. That second job: pictures that make a place legible to someone who has not been.
Automated and remote documentation
Not every useful image needs a person behind the camera. On refuges, motion-activated trail cameras produce what the Fish and Wildlife Service calls wildlife selfies, candid images that inform refuge science and management, and they entertain people.
The principle transfers to route documentation. A camera running on the dashboard at intervals produces a surface and signage record with no effort, and it catches things you drove past without noticing.
Naming and filing, decided before you leave
Pick a scheme and stick to it: date, route code, segment, sequence. Put the documentary frames in their own folder so they do not get lost among the pretty ones.
Back up once a day to something that does not travel in the same bag. Decide the scheme before departure rather than at the end. Renaming several hundred files after a trip is the job that never gets done, and an unnamed folder is only marginally more useful than no photographs at all.
The output of all this belongs in the record structure described in scenic route case studies with budgets and lessons, and the safety habits in the field list for avoiding roadside mistakes apply to every one of these stops.