Rules
Part of Highway Itinerary Planning: How It Works on Scenic Routes
USA travel with access needs: spacing stops on a highway itinerary
USA travel with access needs: build a highway day from confirmed accessible stops, using the BLM map, the Blue Ridge Parkway milepost list and the Access Pass.
What to take away
- Agencies now publish accessibility data on maps, which makes route planning far more certain.
- Plan around confirmed facilities, then treat everything else as optional.
- Distance between accessible restrooms is a real planning constraint on a highway day.
- Ask sites for measurements, and record the answer in the itinerary itself.
Accessibility planning on a long highway trip is not mainly about finding accessible attractions. It is about spacing: knowing where the confirmed facilities are, and building the driving day so that the gaps between them are manageable.
Start from the agency maps
A useful recent development: this information is now mapped, not buried. The BLM launched an accessibility layer on its recreation map.
It describes the layer as helping people with mobility or other accessibility considerations plan outings with more certainty by viewing a map layer that shows and describes accessible sites. It began with campgrounds and visitor centers and is adding photos and detailed feature descriptions.
The agency's own accessibility program page carries the same map, which it describes as highlighting campsites and visitor centers confirmed to meet ADA specifications. Confirmed is the operative word. Build the skeleton of the trip from those points.
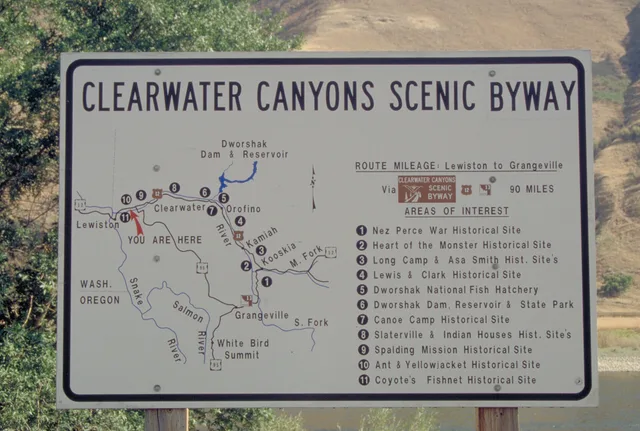
A scenic route that publishes its stops by milepost
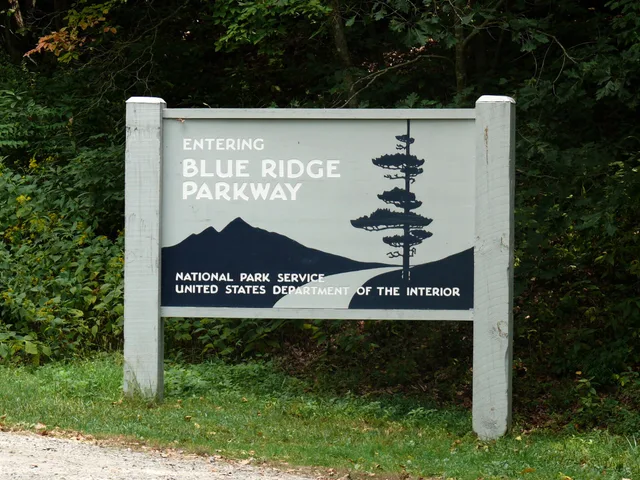
Some scenic routes do the spacing work for you. The National Park Service's accessibility page for the Blue Ridge Parkway says many parkway facilities are wheelchair accessible, while some have minor slopes or structural barriers, and it lists the parkway's stops by milepost with columns for visitor center, exhibits, programs, restrooms, picnic areas and camping. The list runs from Humpback Rocks at milepost 5.8 through Peaks of Otter (86), Rocky Knob (169), Mabry Mill (176.1), the Blue Ridge Music Center (213), Linville Falls (316.4) and the Folk Art Center (382) to Waterrock Knob at milepost 451.2.
The same page notes that several new trails at the Peaks of Otter and at Julian Price Lake are ADA accessible, and that the fishing piers at Otter Lake and Price Lake are accessible. A milepost list like this lets you set the gaps between stops before you leave, and the park gives a phone number for questions the table does not answer.
Space the day around confirmed facilities
Once you have the confirmed points, the itinerary almost writes itself.
- Put a confirmed facility at roughly two-hour intervals along the route.
- Choose overnight stops that have accessible restrooms and parking, not just an accessible room.
- Keep the longest driving leg for the part of the day when everyone is freshest.
- Treat any site without published detail as a bonus, never as a scheduled stop.
Ask for numbers, and write them down
Where a site page is silent, phone and ask for measurements, not a verdict. Ask the distance from parking to the point of interest, the surface, the steepest grade, whether restrooms have sinks, and whether seating lines the way.
Put the answers in the itinerary entry with the date and the name of whoever gave them. That turns a vague plan into a document the whole party can rely on.
Passes and paperwork
The pass to know is the America the Beautiful Access Pass. The BLM describes it as covering more than 2,000 federal recreation sites throughout the United States, free for U.S. citizens or permanent residents with permanent disabilities, who must provide documentation of permanent disability and of residency or citizenship. It can be obtained online through the USGS Store, in person at a federal recreation facility, or by mail with the application form. Acceptable proof includes a statement signed by a licensed physician or a document issued by a federal agency, such as the Veterans Administration.
Sort this out before departure, not at a gate. Staff there may not issue anything. Carry the documentation in your vehicle, not buried in luggage.
Check whether a pass covers the specific sites on your route. Coverage is defined by area and by fee type rather than by agency name, and a pass that works at one gate can be refused at the next one along the same highway.
Leave room for rest, not just rest stops
Accessible travel planning often focuses on facilities and forgets fatigue. A day with three good stops and long gaps can be harder than a day with five short ones close together. Ask the party what pattern actually suits them, then build the timetable to that shape rather than to the map.
Each itinerary entry should hold five things: the stop, its milepost or exit, the confirmed facilities, the measurements you were given, and who gave them and when. Our guide to how highway itinerary planning works sets out the same structure for any trip. On a scenic route, overlooks and roadside signs that can be seen from the vehicle make good low-effort stops between the confirmed facilities.